20 Easy Halloween Nails Ideas for a Quick Spooky Manicure
Halloween nails don’t have to take all evening, and they definitely don’t need a steady artist’s hand. If you’ve ever looked at a spooky manicure online and thought, “I could never do that,” this list is for you. Every idea here is built around shortcuts that actually work: stickers, press-ons, tape, one-coat colours, and a humble makeup sponge. Save this one now, and next October you’ll be ready in minutes instead of scrambling the night before the party.
If you’re building up a little Halloween nail collection, start with our broader round-ups of Halloween nails ideas and simple Halloween nail ideas for even more inspiration. The looks below are different, though: they’re all about speed and forgiveness. A wobbly line doesn’t matter when a sticker or a strip of tape is doing the hard work for you, and that’s exactly the point.
What Are Easy Halloween Nails?
Easy Halloween nails are spooky-season manicures that anyone can do at home with basic tools, two or three polishes, and about twenty minutes. The idea is simple: instead of hand-painting tiny bats or ghosts freehand, you lean on tricks like nail stickers, decals, press-on sets, striping tape, and sponge gradients. The result still reads as Halloween from across the room, but there’s no frustration, no ruined manicure, and no salon appointment needed.
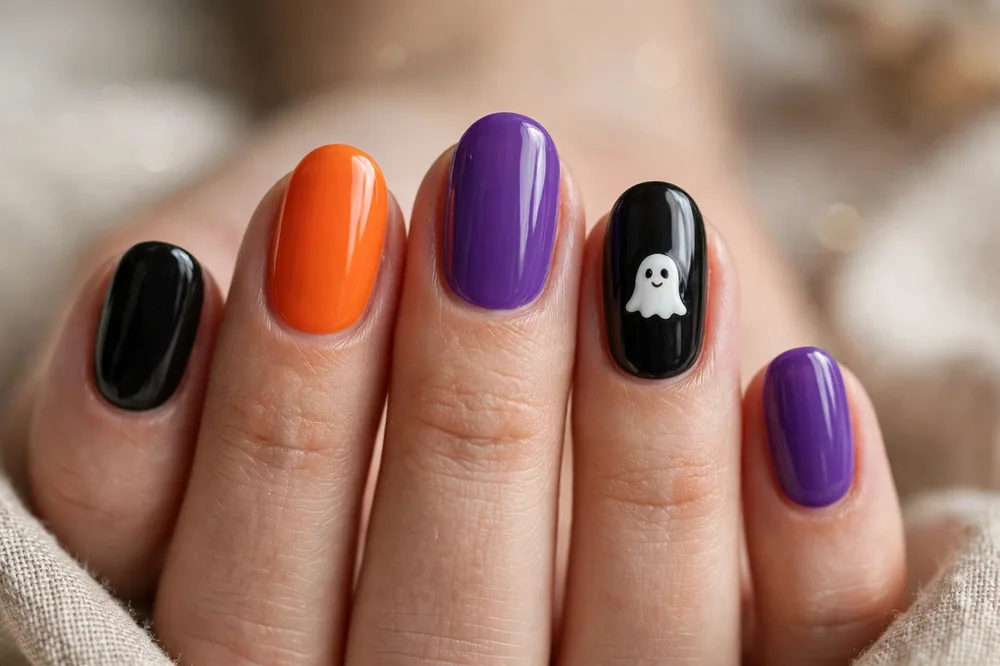
What makes them “easy” isn’t just the technique, it’s the mindset. A solid black manicure with one glitter accent nail counts. So does a single spooky sticker on an otherwise plain nude nail. You don’t need ten matching works of art; you need one good idea, a base coat, and a top coat to seal it in. Keep the palette classic — black, orange, purple, green, and deep red — and almost anything you try will look intentional.
Five-Minute Solid Black Easy Halloween Nails
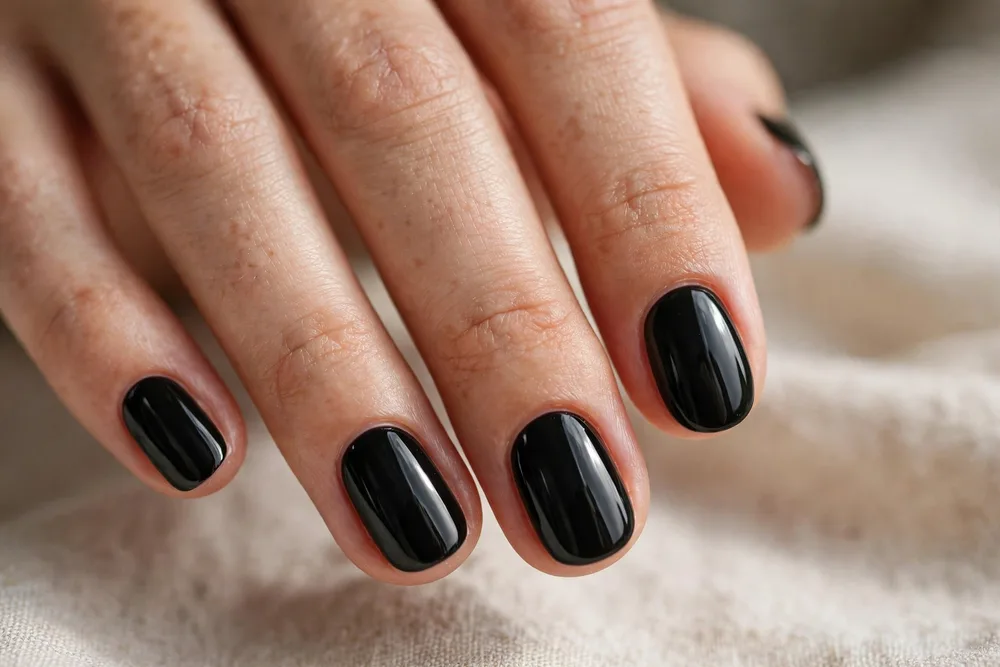
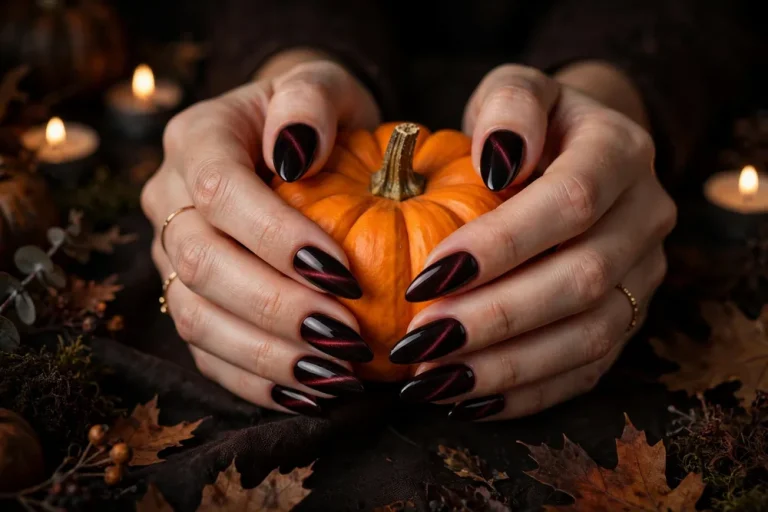
Sometimes the easiest Halloween look is also the chicest. A glossy coat of black polish instantly feels spooky, witchy, and party-ready, and it goes with literally any costume. Reach for a one-coat black like OPI’s Lady in Black or Essie’s Licorice, and you can honestly be out the door in five minutes. No art, no drying drama, just instant mood.
The trick is in the finish. A glossy top coat keeps black nails looking expensive rather than flat, and a quick cuticle oil rub at the end makes the whole manicure look salon-fresh. If you’re short on time, paint your dominant hand first while you’re still patient, then take your time on the other. This is the look to save for next October when life gets busy.
Sticker Ghost Accent Easy Halloween Nails
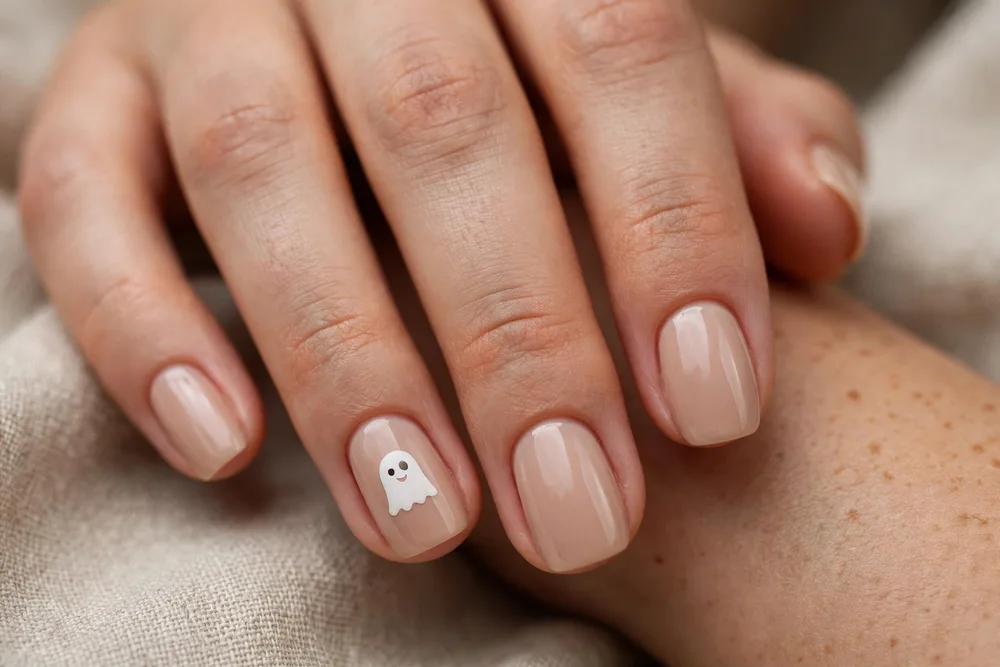
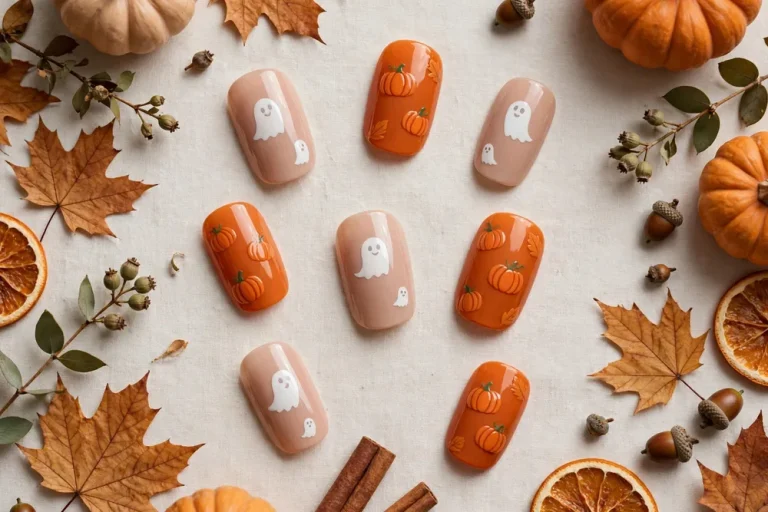
Here’s the ultimate cheat code: paint your nails a soft nude, then press one tiny ghost sticker onto each ring finger. That’s it. The nude base keeps things wearable for work or school, while the ghost does all the Halloween talking. It’s cute rather than creepy, which makes it perfect if you like the season but not the gore.
For a clean result, let your base colour dry fully before you place the sticker, then seal it with two thin layers of top coat so the edges can’t lift. Essie’s Ballet Slippers is a classic nude that works on most skin tones, and CND’s Vinylux line is brilliant if you want extra staying power without a lamp. Peel, press, top coat, done.
Press-On Pumpkin Set Easy Halloween Nails
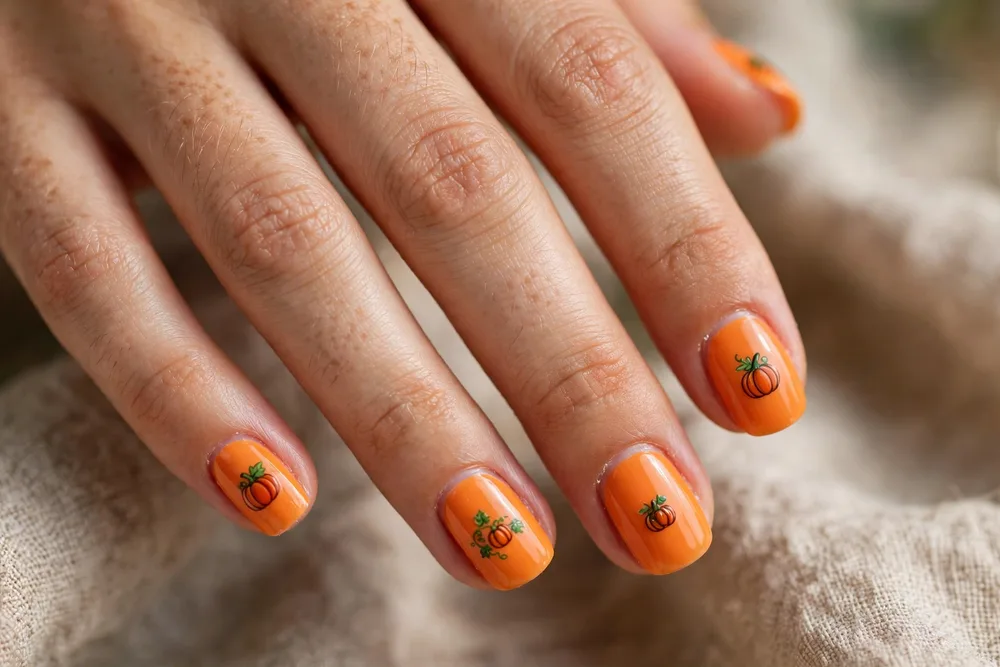
Press-on nails have come a long way, and a pumpkin set is proof. You get a full Halloween manicure in about ten minutes, no drying time at all, and you can peel them off the next day if you change your mind. Look for short, rounded sets if you want them to feel natural, and keep the glue tabs for a gentler, reusable option.
Sizing matters more than anything else with press-ons, so try each nail on before you commit and file the sides lightly for a custom fit. A dab of cuticle oil around the edges afterwards stops them looking stuck-on, and a clear top coat over the top blends everything together. Keep the set in its box and you’ll have it ready to reuse next October too.
Candy Corn Stripes with Tape Easy Halloween Nails
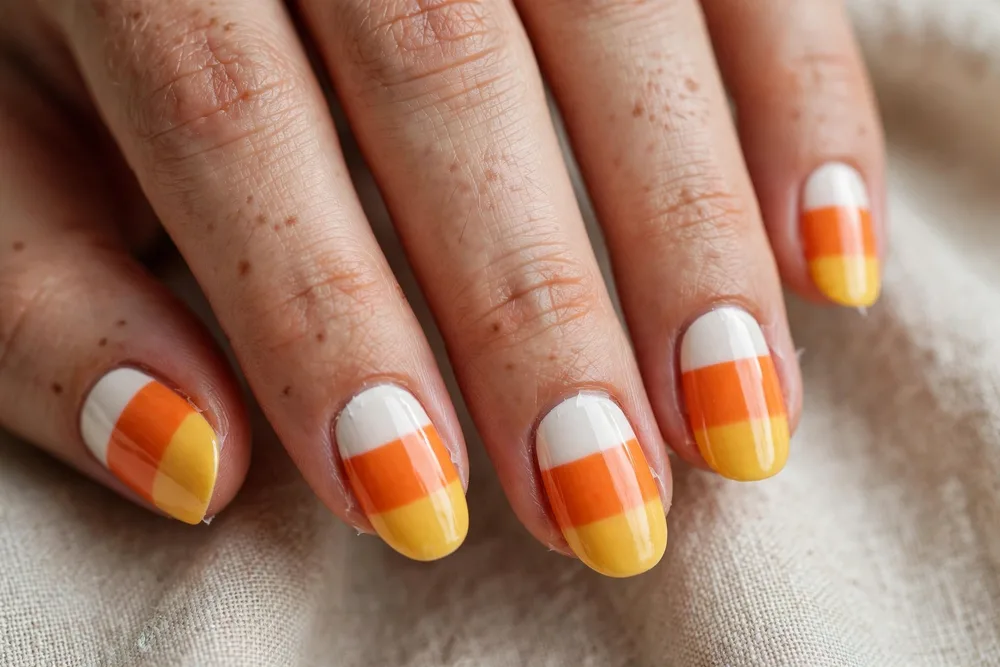
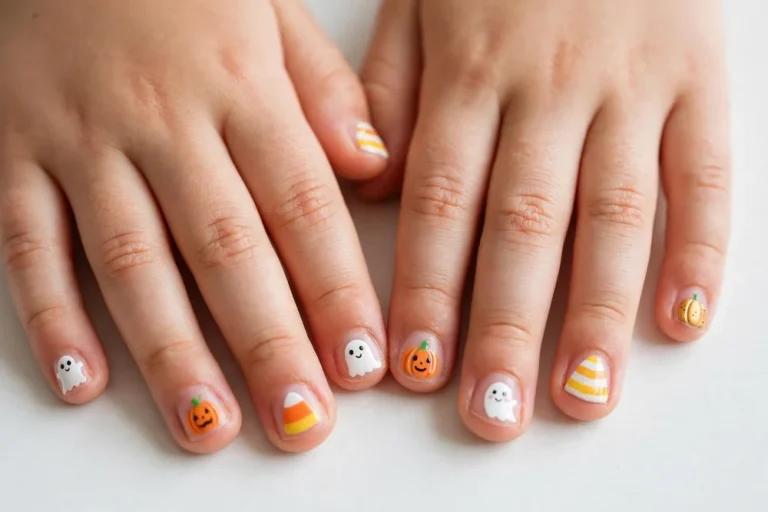
Candy corn stripes sound fiddly until you realise tape does the lining up for you. Paint your nails white first and let them dry completely, then lay thin strips of nail tape across each nail and paint the exposed sections orange and yellow. Peel the tape off while the polish is still slightly tacky, and you’ll get crisp, bakery-perfect stripes.
Patience is the only skill this one needs. If you rush the white base, the tape will pull it up, so give it a good twenty minutes or use a quick-dry top coat in between. OPI’s Alpine Snow makes a bright, clean white, and a warm orange like OPI’s Where Did Suzi’s Man-go? gives that true candy corn glow. Seal with top coat and admire your handiwork.
One-Coat Blood Red Easy Halloween Nails
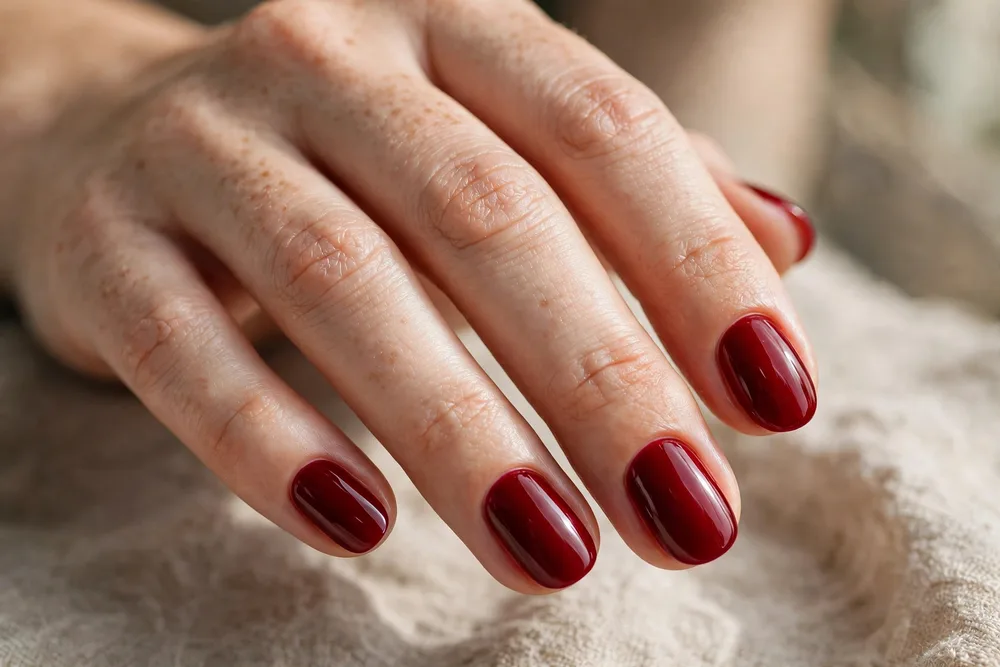
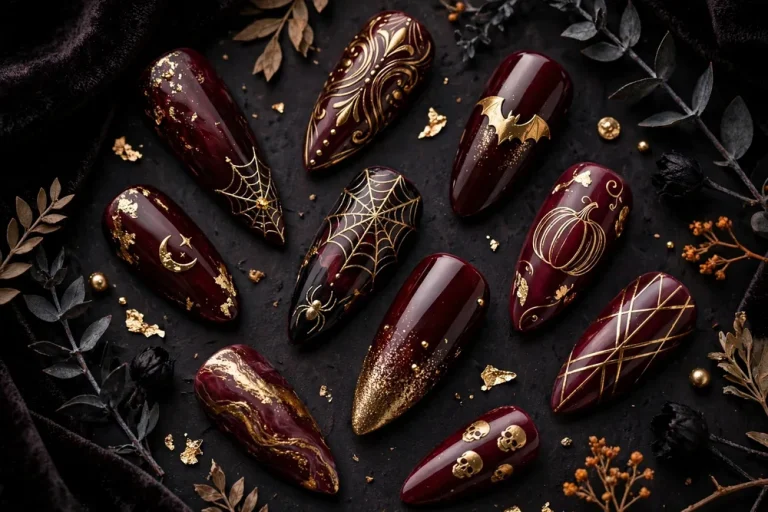
A deep blood red is Halloween without trying too hard, and a good one-coat formula means you’re done before your coffee cools. Think vampire, think dark romance, think the one shade that works with jeans and a costume alike. OPI’s Malaga Wine and Essie’s Bordeaux are both rich enough to read as spooky rather than just red.
One-coat shades work best when you load the brush properly and use three smooth strokes: middle, then each side. Don’t go back over a half-dry nail or you’ll drag the colour, and always cap the free edge so the tips don’t wear first. Add a glossy top coat for that fresh, just-bitten shine, and this look carries you from the office to the party.
Glitter Black Accent Nail Easy Halloween Nails
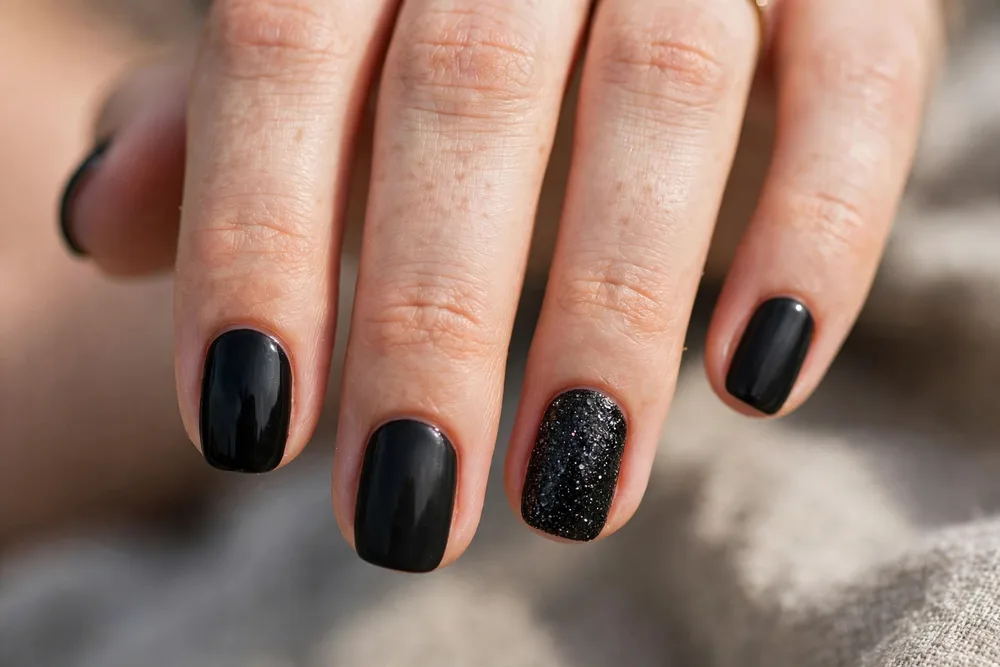
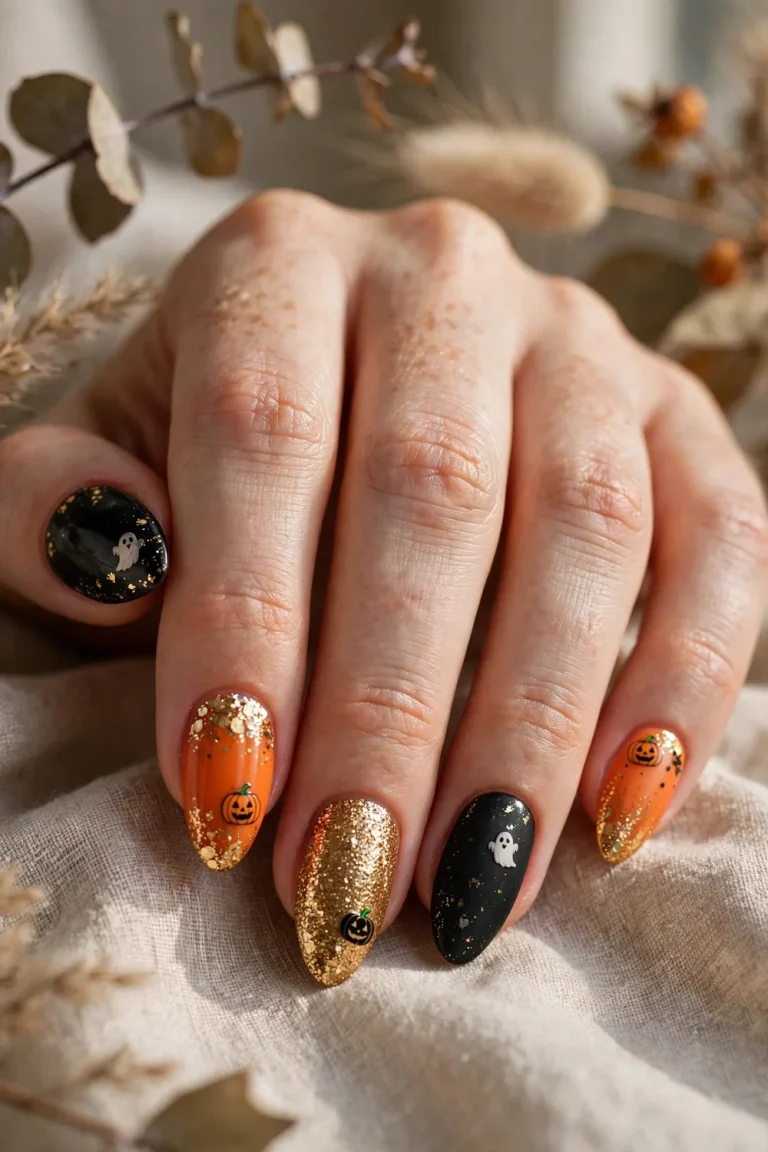
If plain black feels a little too plain, add one glitter accent nail and suddenly the whole manicure has a story. Paint nine nails black and one — usually the ring finger — in a black or silver glitter, and you’ve got a look that catches the light every time you reach for your drink. It’s the smallest possible effort for a big payoff.
Glitter polish can be a pain to remove, so use a peel-off base coat on the accent nail if you plan to change your manicure soon. Two thin coats of glitter look better than one thick, gloopy one, and a glossy top coat smooths the texture down. OPI’s Black Onyx paired with a black glitter topper is an easy, fail-proof combination.
Spider Sticker on Nude Easy Halloween Nails
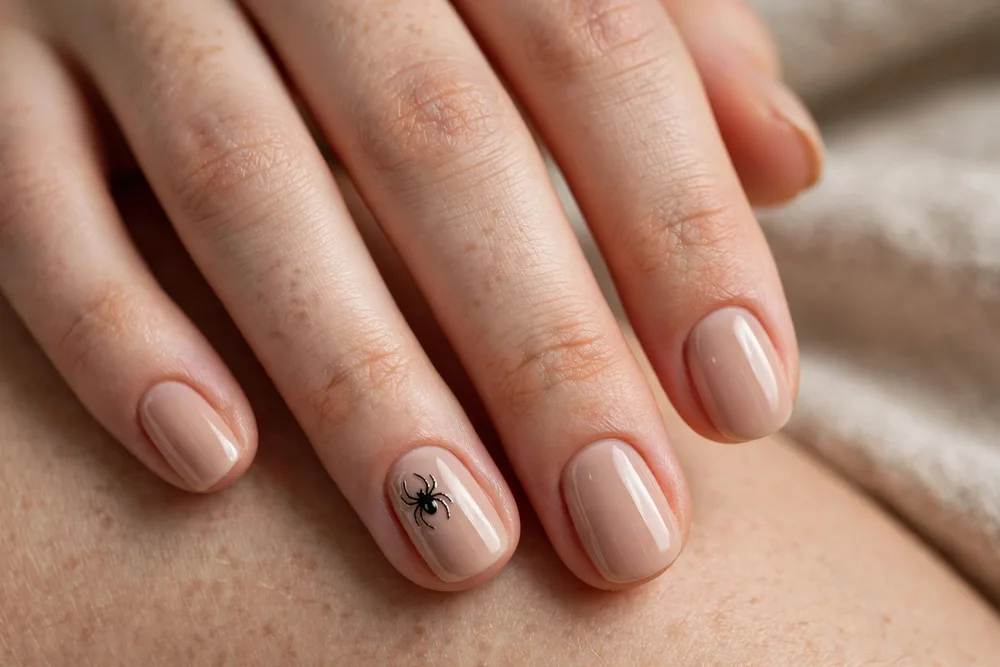
A single spider sticker on a nude nail is spooky in the most low-key way. From a distance it just looks like a chic neutral manicure, and then someone notices the little spider and does a double take. That’s the sweet spot for easy Halloween nails: a conversation starter that doesn’t scream costume.
Place the sticker slightly off-centre, towards the tip or the side of the nail, so it looks deliberate rather than random. A sheer nude like Essie’s Mademoiselle keeps the focus on the sticker, and a matte top coat over the whole nail gives it a modern, velvety feel. If stickers aren’t your thing, a tiny spider charm pressed into wet top coat works the same way.
Pumpkin Spice Sponge Ombre Easy Halloween Nails
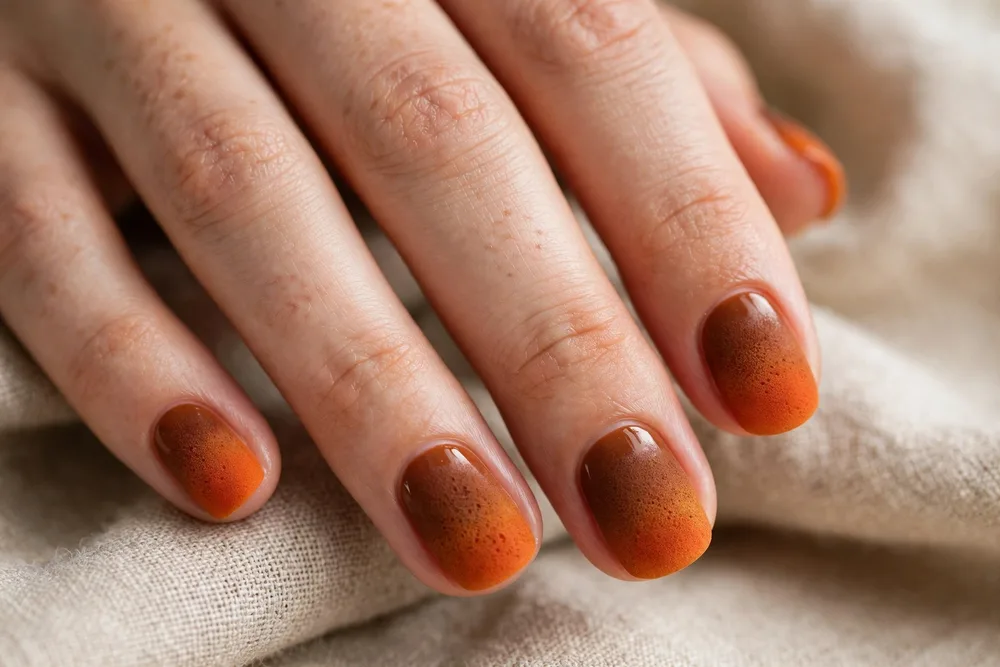
Sponge ombre sounds technical, but it’s really just dabbing polish with a makeup sponge until the colours melt together. For a pumpkin spice version, paint your nails a warm nude or light orange base, then sponge burnt orange over the tips and a touch of brown at the very edge. The gradient does the fancy work while you just dab away.
The secret is thin layers and patience: dab, let it dry for a minute, dab again, rather than loading the sponge up once. Clean up the skin around your nails with a small brush dipped in remover, and finish with a glossy top coat to blend any sponge texture. Shades like OPI’s It’s a Piazza Cake and CND’s Burnt Orange territory pair beautifully here.
Black French Tips Easy Halloween Nails
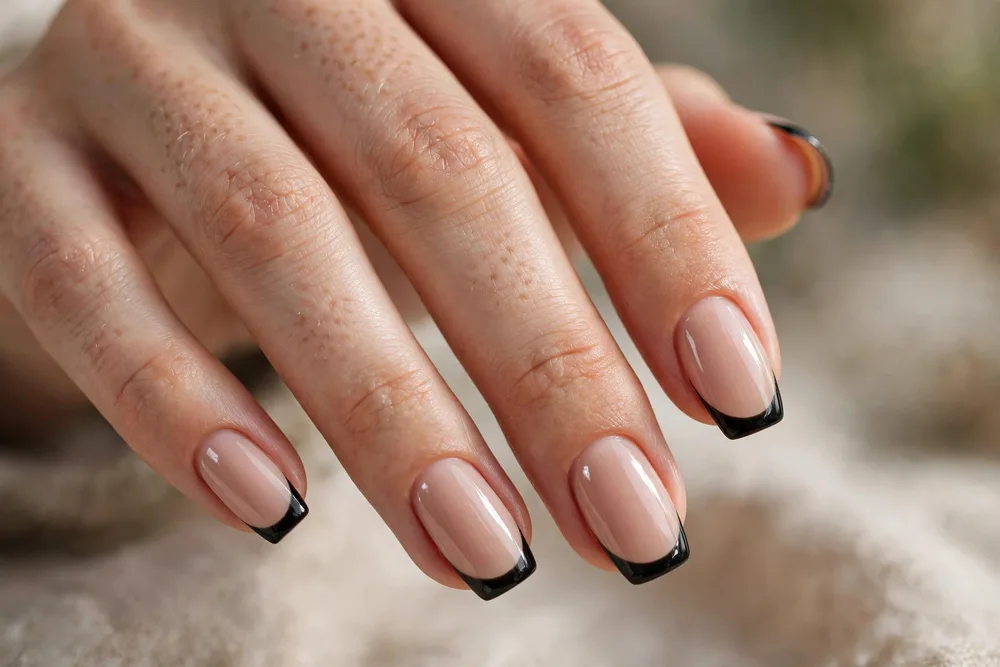
Black French tips take the most classic manicure in the world and give it a Halloween twist, and they’re far easier than a full design. Paint a nude base, then sweep black polish across just the tips. If your hand shakes, that’s fine — a slightly thicker tip on one nail just looks like a style choice, not a mistake.
French tip guides or even a strip of tape across the nail make this genuinely foolproof, so don’t freehand it if you don’t have to. OPI’s Bubble Bath is the go-to sheer pink base, and Lady in Black gives a sharp, opaque tip in one coat. A glossy top coat ties the two together, and you’ve got a manicure that works long after Halloween ends.
Glow Dot Ghosts Easy Halloween Nails
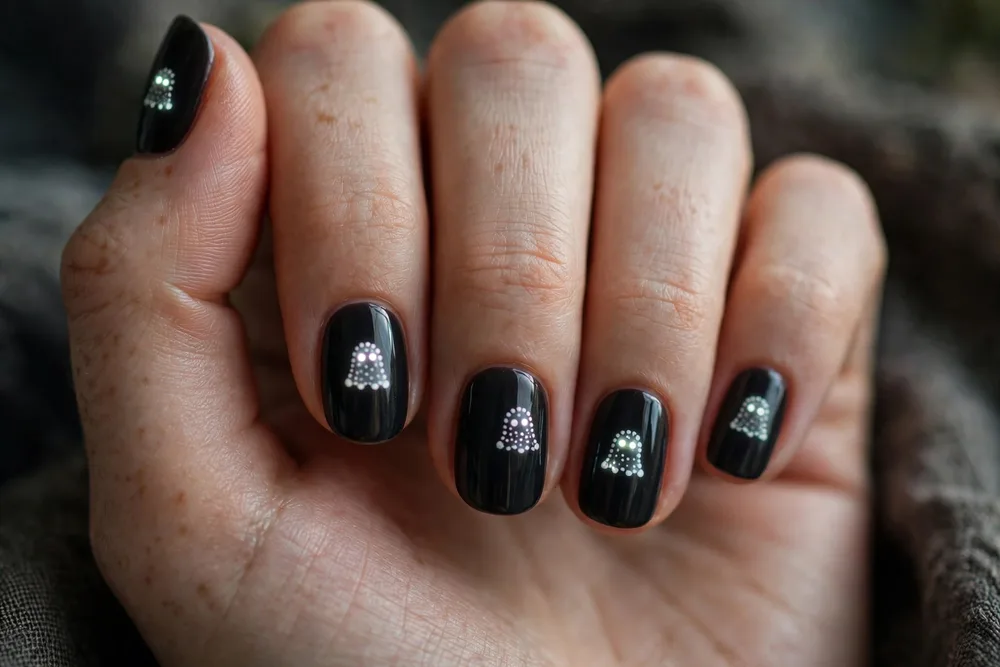
Glow dot ghosts are made with the end of a bobby pin or a dotting tool, which means zero drawing skill is required. Dot a blob of white polish onto a dark nail, drag it down slightly for a ghostly tail, then add two tiny black dots for eyes once it’s dry. Under normal light they’re cute; under a black light or glow top coat, they’re brilliant.
Keep the ghosts small and place just one or two per hand so they stay charming instead of cluttered. A glow-in-the-dark top coat over the white dots charges up in daylight and glows at parties, which is a fun surprise nobody expects. Use a dark base like Essie’s Licorice so the white pops, and seal everything with a clear top coat.
Bat Decal on Plum Easy Halloween Nails
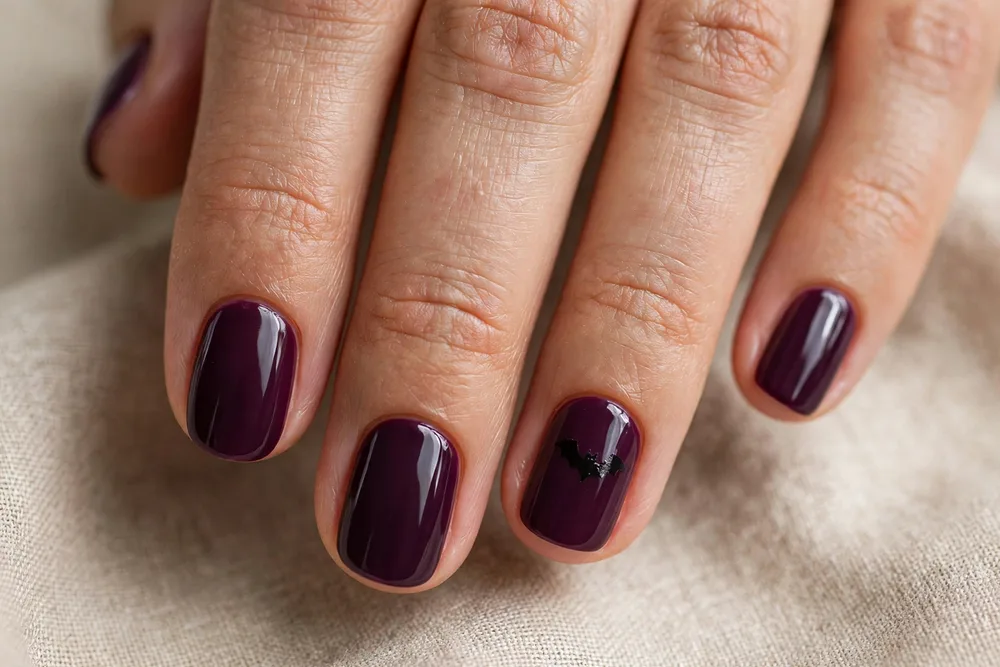
Deep plum is one of those shades that feels like autumn even without any art, and a single bat decal turns it into Halloween in seconds. Paint all ten nails plum, then press a small black bat decal onto one or two accent nails. The dark-on-dark contrast is subtle up close and unmistakably spooky from a few steps away.
For the richest plum, try OPI’s Lincoln Park After Dark or Essie’s Bahama Mama, both of which are opaque in two coats and flatter every skin tone. Place the decal while the polish is dry but not yet top-coated, smooth it down with an orange stick, and seal with two thin top coats so the edges stay put through the whole weekend.
Mummy Tape Stripes Easy Halloween Nails
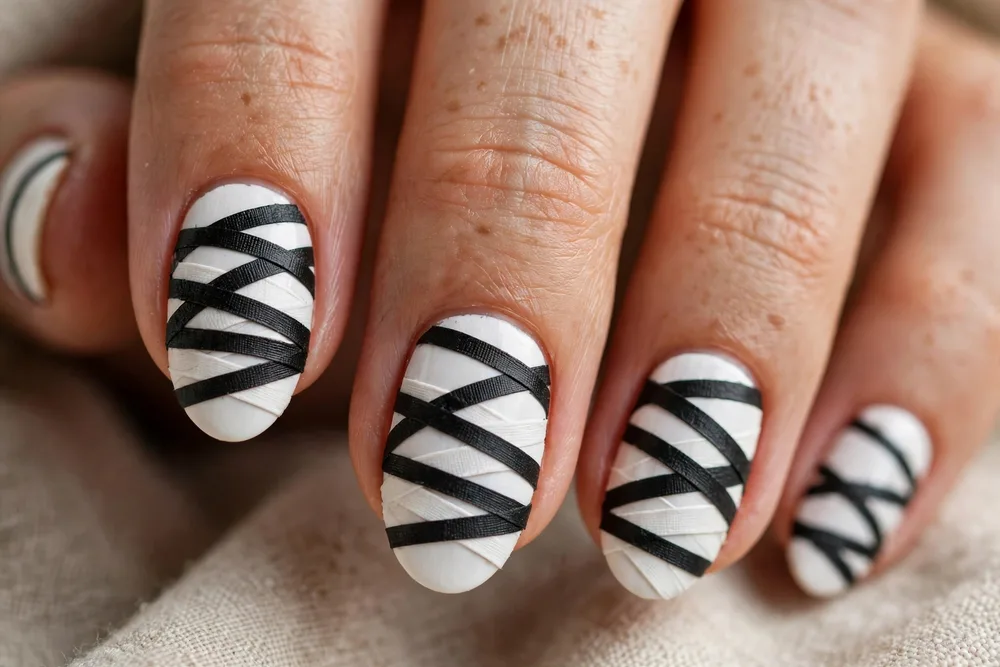
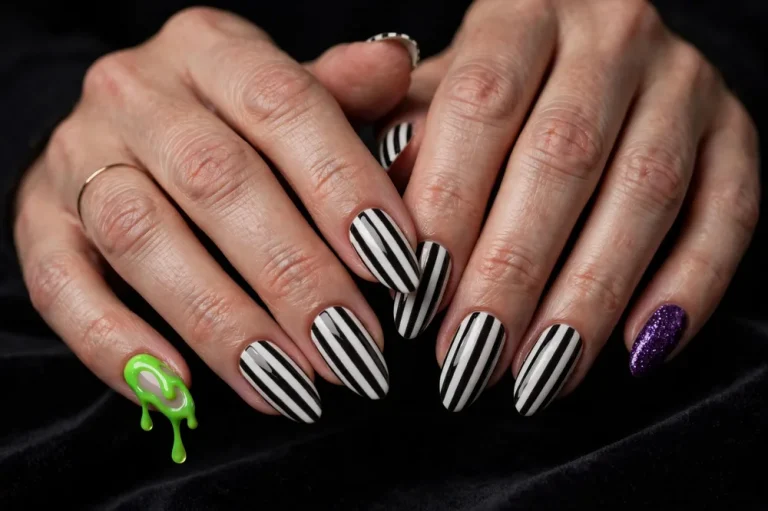
Mummy nails are just white polish and tape, and they’re one of the most forgiving designs on this list. Paint your nails white, let them dry, then lay thin strips of striping tape diagonally across each nail in a criss-cross pattern. The tape becomes the wrapping, the white underneath becomes the mummy, and any unevenness just looks more authentic.
Black striping tape over a white base is the classic version, but gold tape over cream looks surprisingly elegant if you want a grown-up take. Keep the strips slightly uneven on purpose — real mummies aren’t symmetrical — and finish with a matte top coat for a fabric-like effect. OPI’s Alpine Snow gives the cleanest white base for this trick.
Frankenstein Stitch Accent Easy Halloween Nails
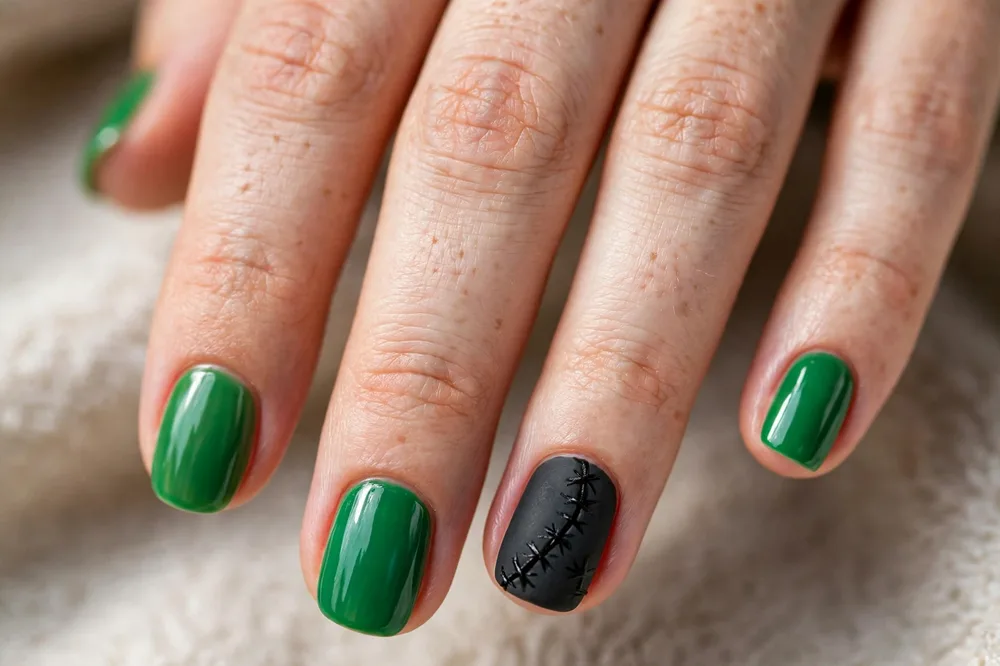
You don’t need to paint a whole Frankenstein face to get the joke across. Paint your nails green, then add short black dash lines — stitches — across one accent nail, and everyone gets it instantly. The stitches are just little lines, so even the shakiest hand can manage them, and they look better slightly wonky anyway.
A muted sage or olive green feels more wearable than neon, so try Essie’s Off Tropic or a soft CND green as your base. Use a thin nail art brush or even a toothpick for the stitches, and keep them short and uneven. One stitched accent nail per hand is plenty; the rest of the green manicure carries the theme without any extra work.
Eyeball Dot Accent Easy Halloween Nails
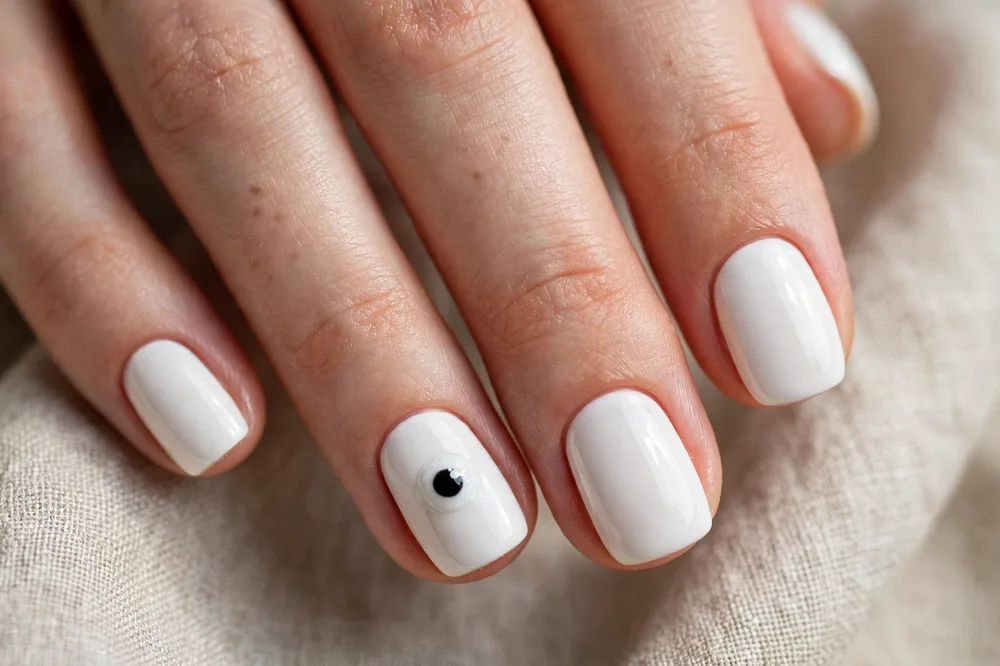
An eyeball accent nail is pure dotting-tool magic: a big white dot, a smaller coloured dot in the middle, and a tiny black pupil on top. Three dots, stacked, and you’ve got an eyeball staring back at you. It’s creepy, it’s funny, and it’s genuinely one of the easiest Halloween designs that actually looks like something.
Let each dot dry for a minute before adding the next one, or the colours will smudge into each other. A white base nail makes the eyeball pop, while the other nails can stay simple in black or deep red. Add a few thin red lines radiating from the eyeball if you’re feeling brave — they read as veins and take about ten seconds with a toothpick.
Purple and Black Half-Moon Easy Halloween Nails
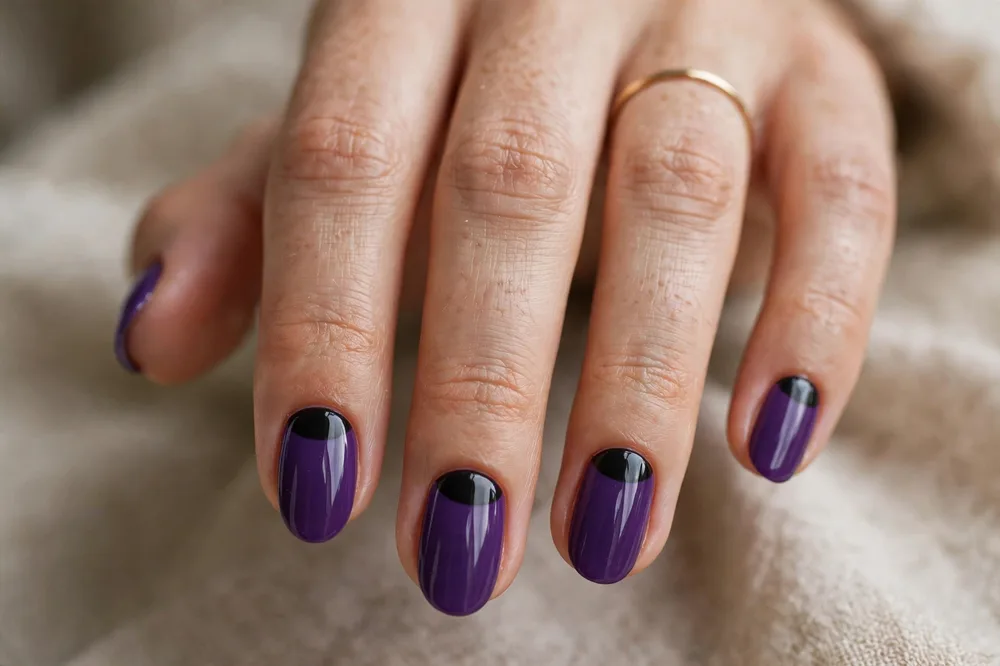
Half-moon nails are a vintage trick that looks far harder than it is, especially with a little help from reinforcement rings — those tiny stickers meant for paper. Stick one at the base of each nail, paint purple over the top, peel the ring off, and you’ve got a perfect black or bare half-moon at the cuticle. It’s clean, graphic, and very Halloween in purple and black.
Try a rich purple like OPI’s Do You Lilac It? or Essie’s Play Date over a black base, or flip it and paint black over a purple base for a moodier version. The reinforcement-ring trick works best when the base colour is fully dry before you paint over it, so don’t rush that step. A glossy top coat finishes the graphic look beautifully.
Orange Glitter Accent Nail Easy Halloween Nails
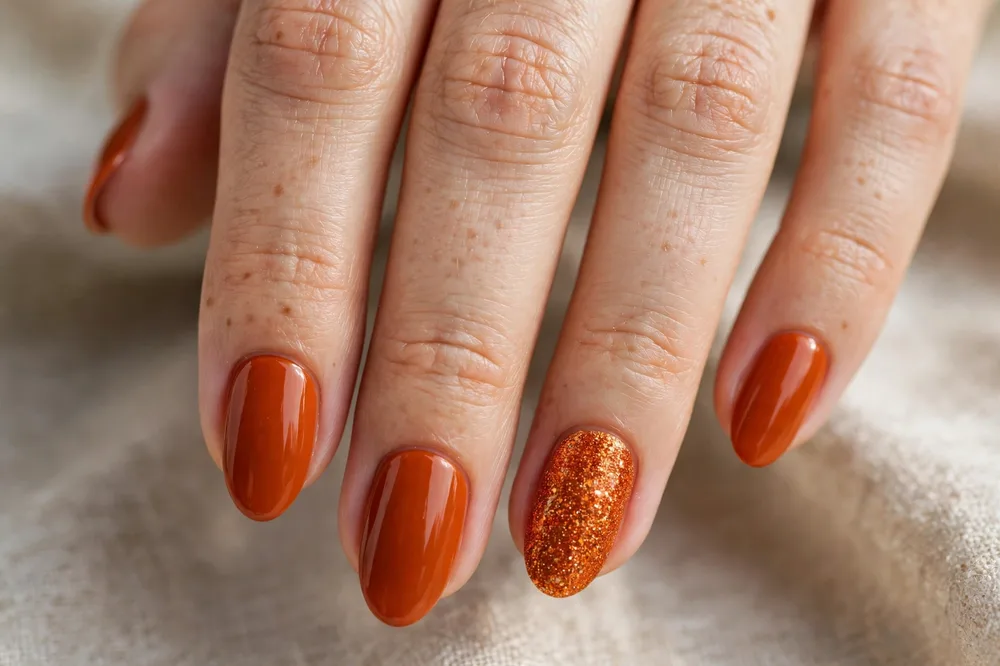
Sometimes one glitter nail is all a manicure needs, and orange glitter is Halloween in a bottle. Paint your nails a deep brown or black, then make your ring fingers sparkle with a chunky orange glitter. It catches candlelight, fairy lights, and camera flashes, which is exactly what you want at a Halloween party.
Chunky glitter looks best over a dark base, so don’t be shy about the contrast — that’s the whole point. Two thin coats build up the sparkle without going gloopy, and a thick glossy top coat smooths the texture so it doesn’t snag on your costume. OPI’s Black Onyx underneath an orange glitter topper is a combination that never fails.
Skeleton Sticker Accent Easy Halloween Nails
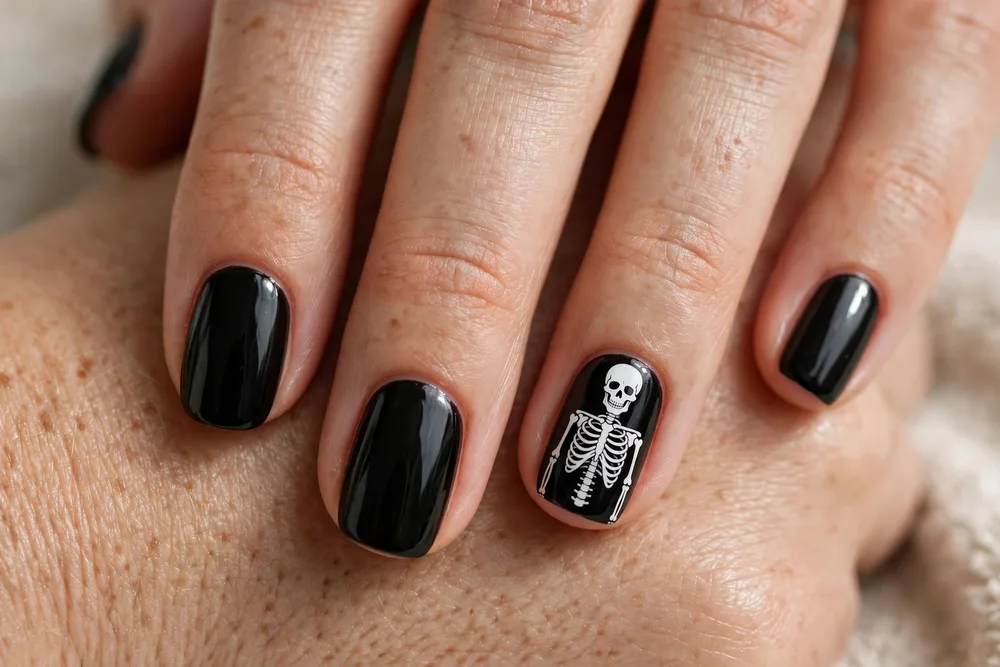
Hand-painting a skeleton is a job for a professional, but a skeleton sticker is a job for anyone with thirty seconds. Paint your nails black, press a white skeleton sticker onto each ring finger, and you’re done. The black-and-white contrast is bold, graphic, and reads as Halloween instantly, even on short nails.
White stickers show up best on a truly opaque black, so use two coats of a solid black like Essie’s Licorice and let it dry fully first. Smooth the sticker down from the centre outwards to avoid air bubbles, then seal with top coat — twice, if you want it to survive a weekend of parties. It’s the kind of look people assume took ages, and that’s the fun of it.
Witchy Green and Black Gradient Easy Halloween Nails
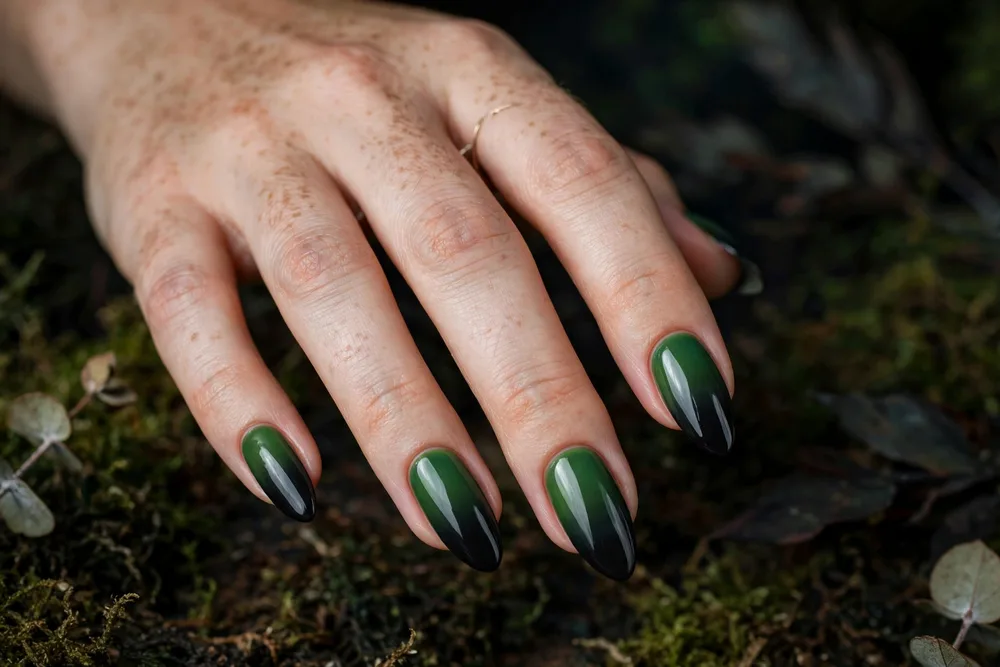
A green-to-black gradient is pure witch energy, and the sponge does all the blending for you. Paint a dark green base, then sponge black polish over the tips, dabbing lightly where the two colours meet so they melt together. The result is smoky, moody, and a little bit magical — like something you’d wear while stirring a cauldron.
Use a small piece of makeup sponge and work in thin layers, letting each one dry for a minute before the next. A deep green like OPI’s Stay Off the Lawn! or CND’s Green Scene gives you that witchy base, and black over the top deepens it without hiding the green completely. Clean up the edges, add top coat, and you’re ready to cast some compliments.
Candy Apple Red with Black Tip Easy Halloween Nails
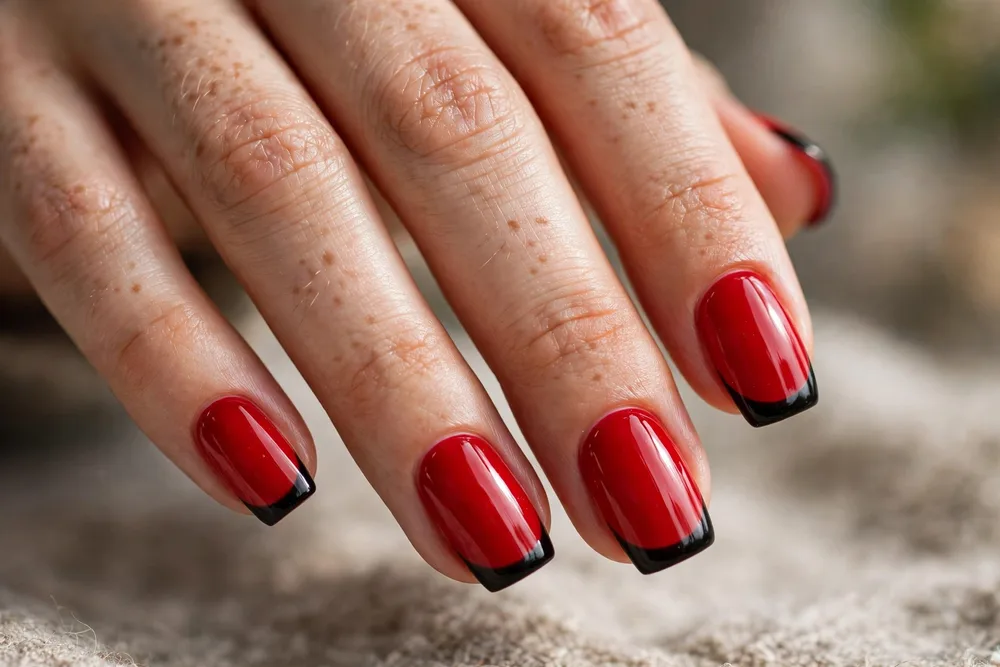
Candy apple red with a black tip is Halloween meets classic Hollywood: shiny, a little bit dangerous, and very easy. Paint your nails a glossy apple red, then sweep black polish across the tips like a French manicure gone to the dark side. The red keeps it pretty, the black keeps it spooky, and together they look deliberate.
OPI’s Big Apple Red is the obvious hero shade here, and it’s opaque enough to cover in two coats. Use tip guides if you want a crisp line, or freehand it for a slightly edgier, dipped look — both work, honestly. A high-shine top coat is non-negotiable for this one, because candy apple nails should look good enough to eat.
Haunted House Silhouette Decal Easy Halloween Nails
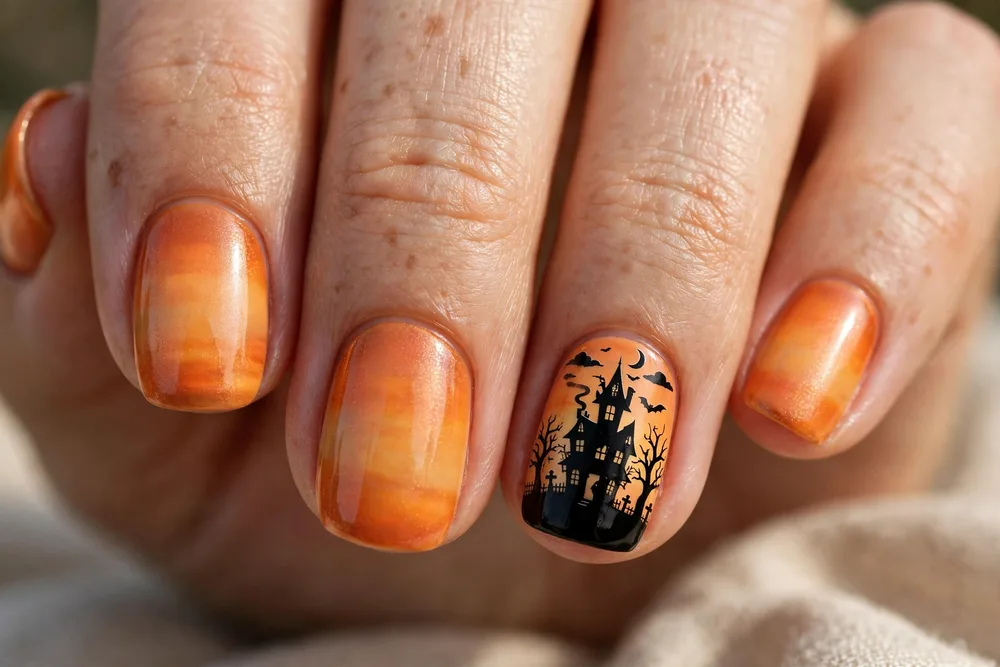
A haunted house decal is the closest thing to a tiny painting you’ll get without painting anything. Paint your nails a sunset orange or a dusky purple, then press a black haunted house silhouette decal onto one accent nail per hand. The silhouette does all the storytelling: crooked roof, tiny windows, instant Halloween scene.
Sunset shades make the black silhouette pop, so try a warm orange like OPI’s Where Did Suzi’s Man-go? or a dusky plum as your base. Place the decal near the tip so the house looks like it’s sitting on the horizon, and seal it well with top coat. Save the leftover decals in their sheet and you’ll have them ready for next October too.
How to Ask Your Nail Tech for Easy Halloween Nails
Asking for easy Halloween nails at the salon is simpler than you think, and being specific saves you time and money. Show your nail tech a photo of the exact look you want, name the technique — stickers, decals, tape, sponge ombre, or press-ons — and say you want the design kept to one or two accent nails. That one sentence tells them it’s a quick service, not a full hand-painted set, so they’ll quote you accordingly and you won’t be in the chair for two hours. Mention your nail shape and length too, since stickers and decals sit differently on short round nails than on long almonds, and ask for a glossy top coat to seal any stickers or tape in place.
Frequently Asked Questions About Easy Halloween Nails
What are the easiest Halloween nails for beginners?
Solid colours, one glitter accent nail, and nail stickers are the easiest starting points. They need no drawing skill, take under twenty minutes, and still look intentional. Start with black, blood red, or plum, add a single sticker or glitter accent, and seal with top coat.
Can I do easy Halloween nails on short nails?
Absolutely, and honestly short nails suit easy designs best. Stickers, dots, tape stripes, and single accent nails all work beautifully on short nails because there’s less surface to cover. Keep motifs small and limit detailed designs to one or two nails per hand.
How long do sticker and decal Halloween nails last?
With two thin layers of top coat sealing the edges, stickers and decals usually last five to seven days. Avoid soaking your hands in hot water for long periods, wear gloves for washing up, and reapply top coat after a couple of days to keep edges from lifting.
Do I need special tools for easy Halloween nails?
No, most of these looks use things you already own: tape, a makeup sponge, a bobby pin or toothpick for dots, and stickers or press-ons. A thin nail art brush helps for stitches and lines, but it’s optional, and a good base coat and top coat matter more than any gadget.
How do I make my Halloween manicure last longer?
Start with clean, dry nails, use a base coat, cap the free edge with every layer, and finish with a glossy top coat. Reapply top coat every two days, moisturise your cuticles daily, and avoid using your nails as tools. These small habits easily add several extra days of wear.
Can I save these easy Halloween nails ideas for next year?
Yes, that’s the whole point of this list. Screenshot your favourites now, keep any leftover stickers, decals, and press-on sets in their packaging, and note down the shade names you used. Next October you’ll have a ready-made plan instead of a last-minute panic.